How To Caramelize Onions
This post may contain affiliate links.
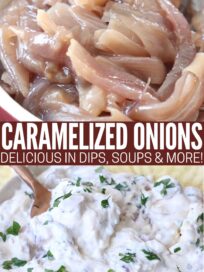
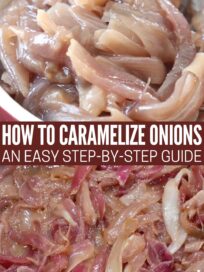
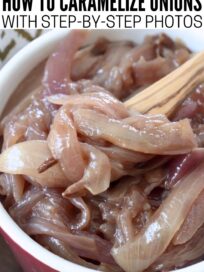
Learn how to caramelize onions on the stovetop with this easy step-by-step guide! While it takes some time to properly make caramelized onions, it’s super easy and the result is so delicious. Caramelized onions add so much flavor to soups, burgers and dips!
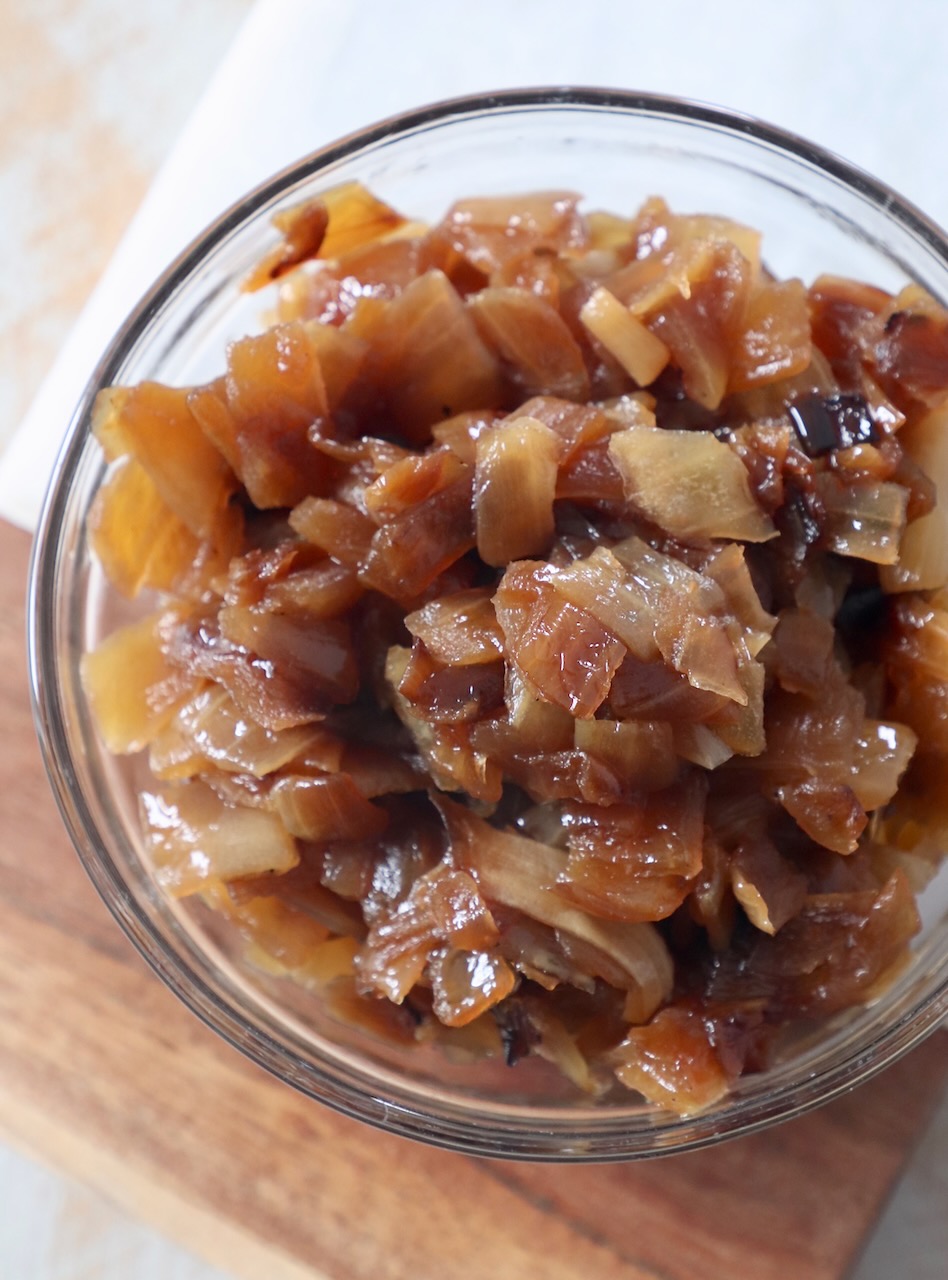
A magical thing happens when onions are slowly cooked to a beautiful golden brown. The natural sugars bring out an amazing sweetness, while still being savory at the same time.
Don’t be surprised if you end up making this caramelized onion recipe on a weekly basis, so they’re always in your fridge. They’re delicious added to sandwiches, steaks, eggs and so much more!
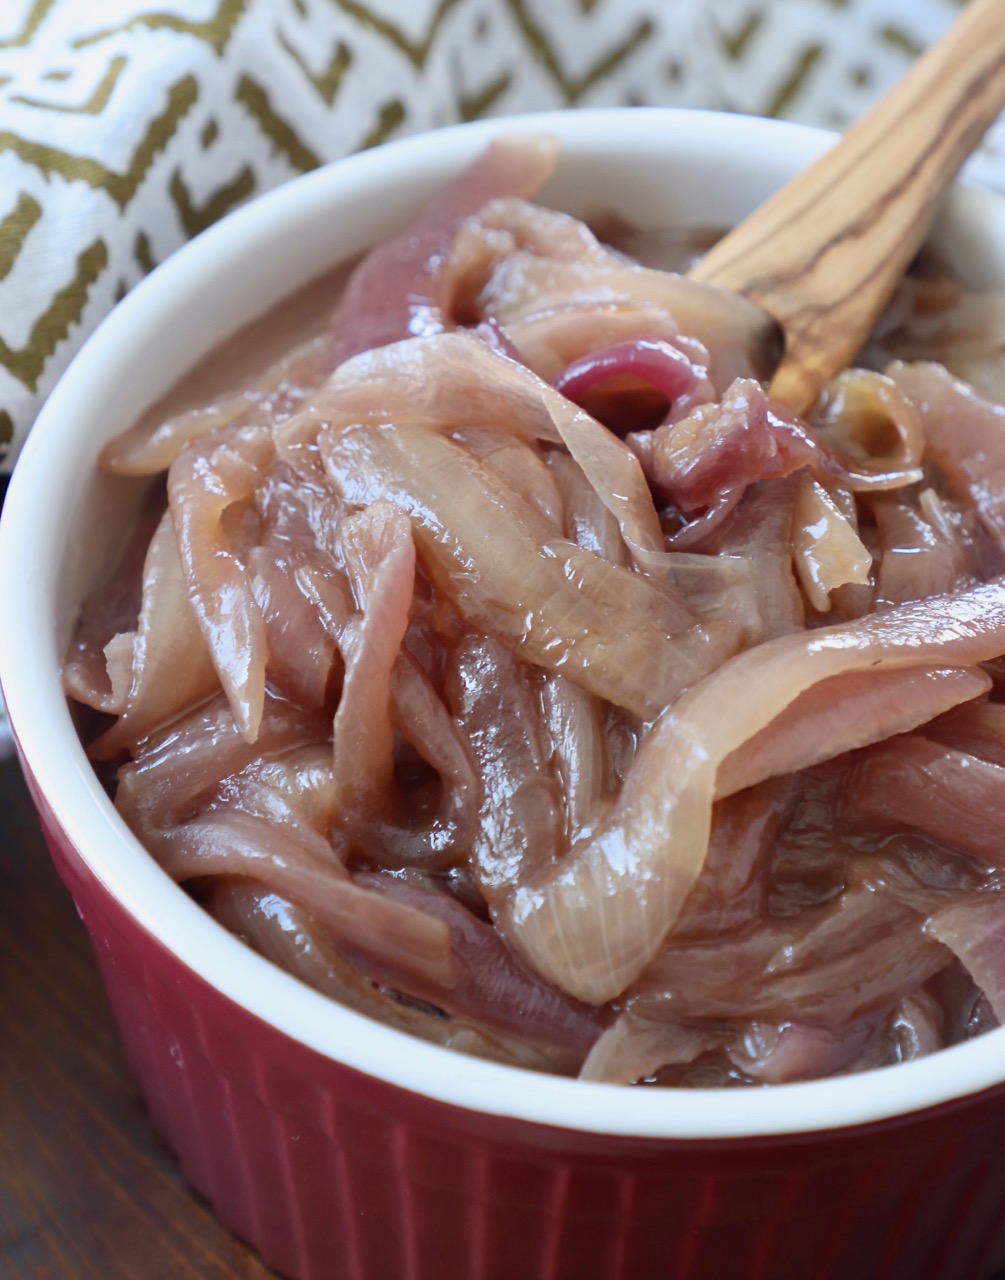
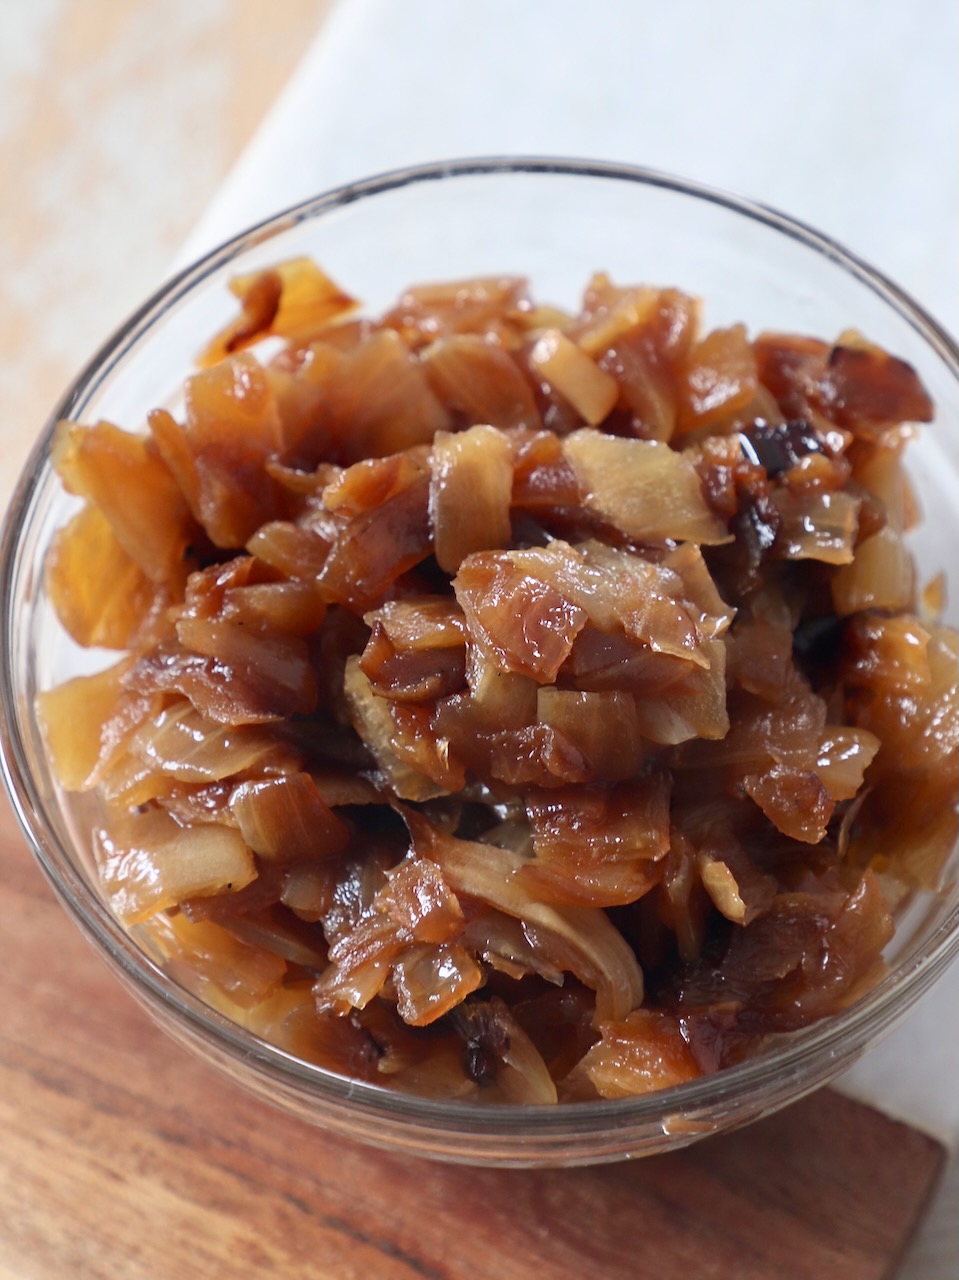
You’ll see both sliced and diced caramelized onions pictured throughout this post. Both are equally delicious, and which version you decide to make will be based on how you plan to use them in recipes. I recommend sliced caramelized onions on top of a steak, but diced caramelized onions pair perfectly with an Animal Style Burger!
Table of contents
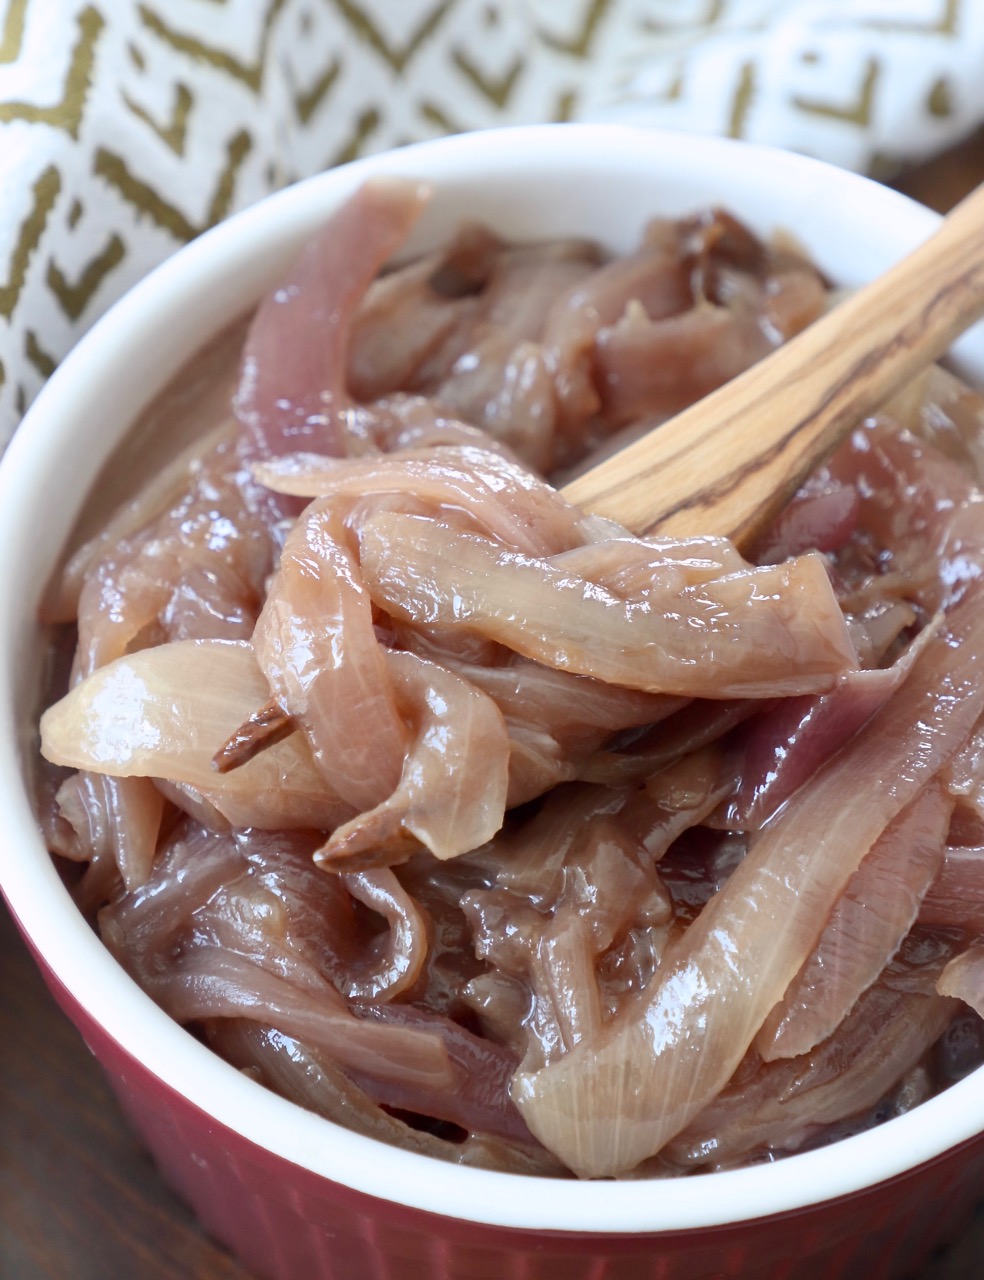
Ingredients
- Butter – you will need some kind of fat to use in the pan. Butter has a great flavor and works really well, but you may also choose to use olive oil.
- Onions – any onion variety such as sweet onions, yellow onions, vidalia onions, red onions, and white onions will caramelize well. Use a mix of multiple types of onions for a more complex flavor.
- Salt – sea salt is recommended, so that it dusts over the onions evenly. Coarser grinds are not recommended.
How to cut onions for caramelizing
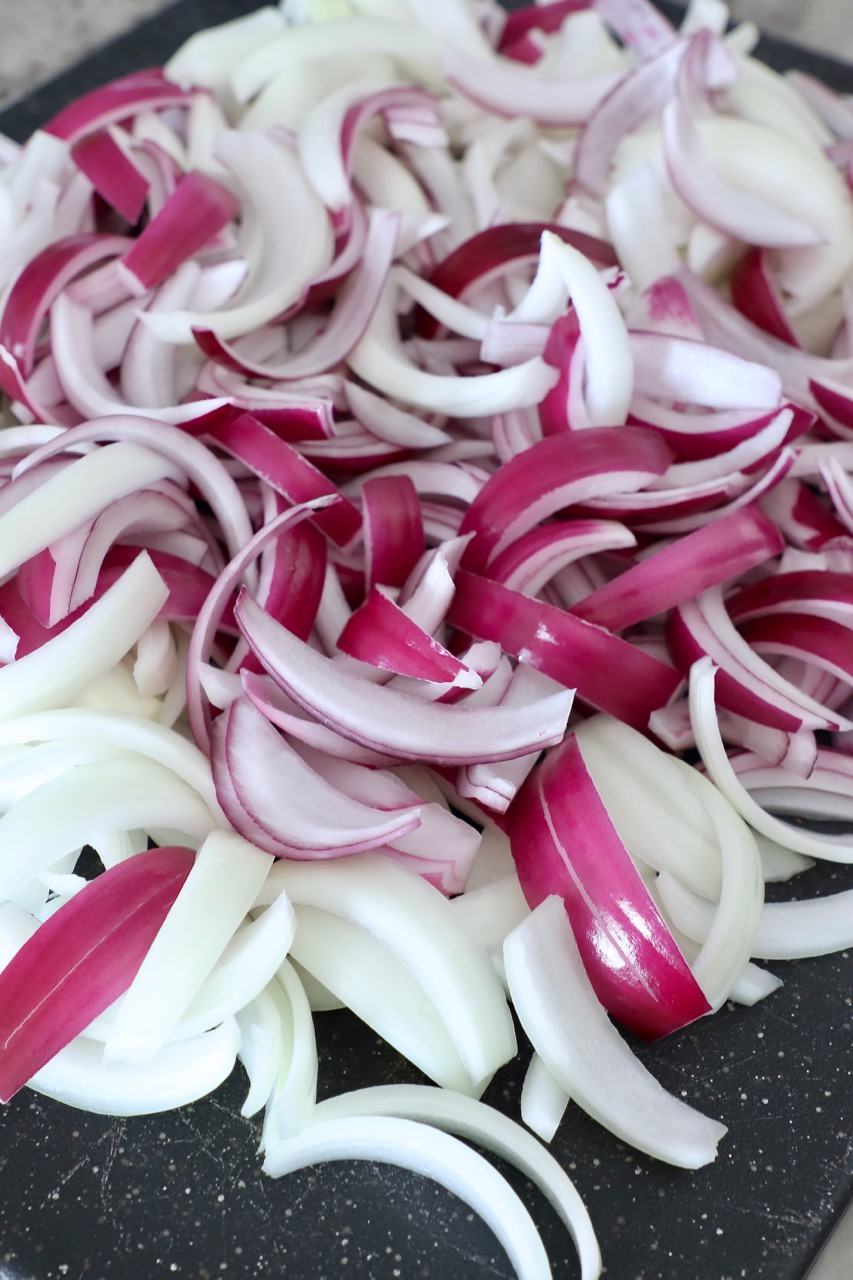
Onions can be sliced or diced to make caramelized onions. The classic method for making caramelized onions, calls for them to be sliced. But if you’re making the caramelized onions for a burger and want diced onions instead, use the same method in this post, but simply dice the onions, instead of slicing them.
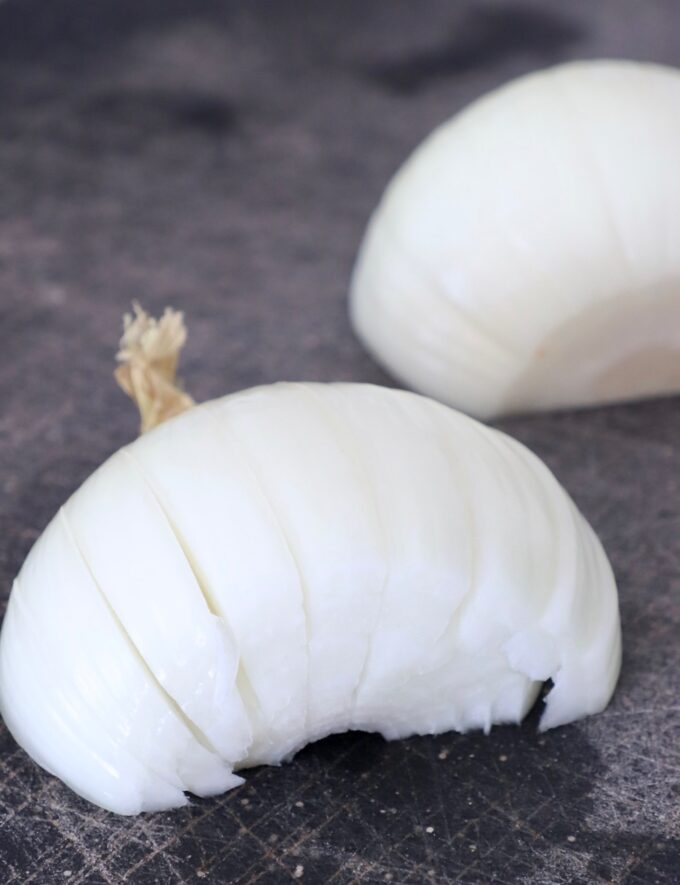
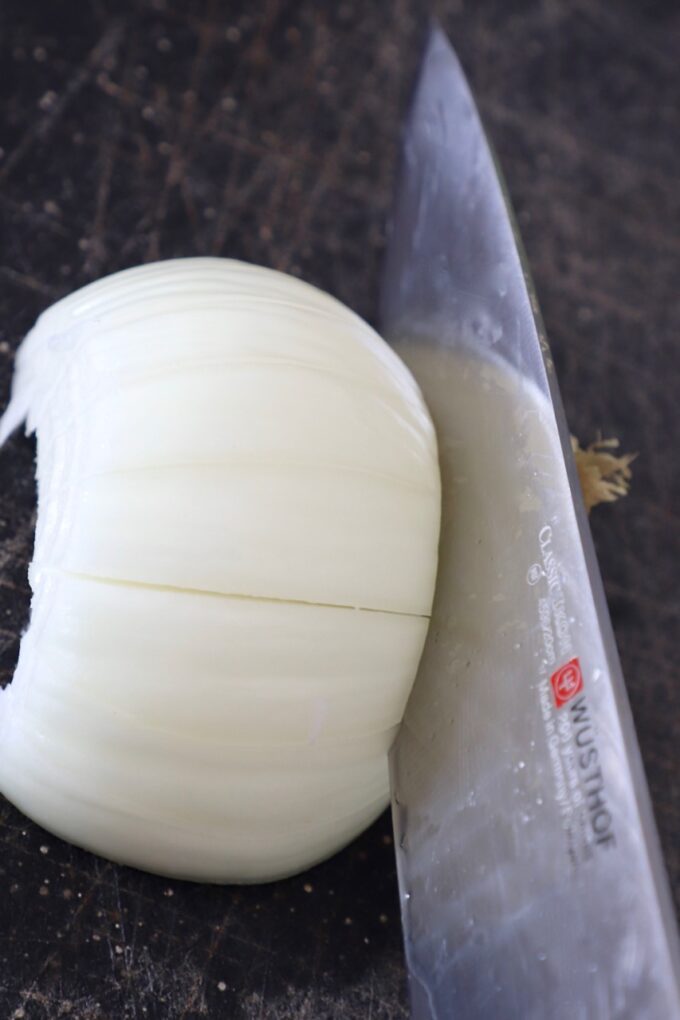
- To slice the onions, start by cutting the onion in half, then removing the stem of the onion. Use a sharp knife to slice the onion every 1/4 inch.
- Slice the other stem end of the onion off and discard.
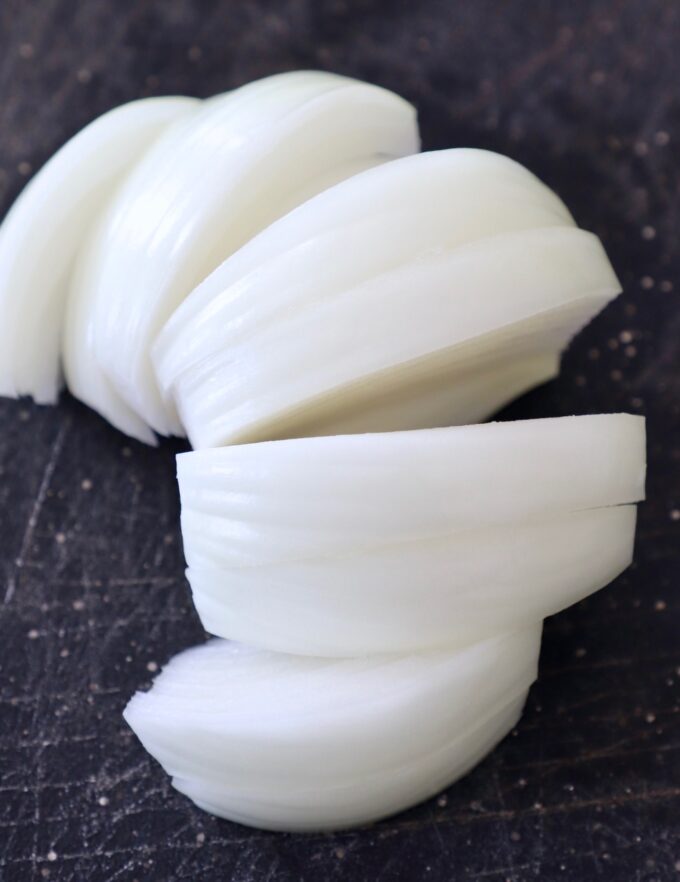
- You now have perfectly even slices of onions.
It’s important that the onions used to make caramelized onions are evenly sliced, or they won’t cook at the same time.
How to caramelize onions
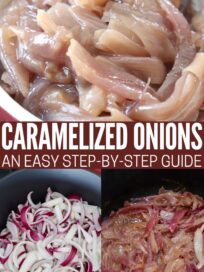
Use the step-by-step guide and images below to help you make perfect caramelized onions at home, every time! For the full detailed recipe instructions and ingredient quantities, scroll to the recipe card at the bottom of this post.
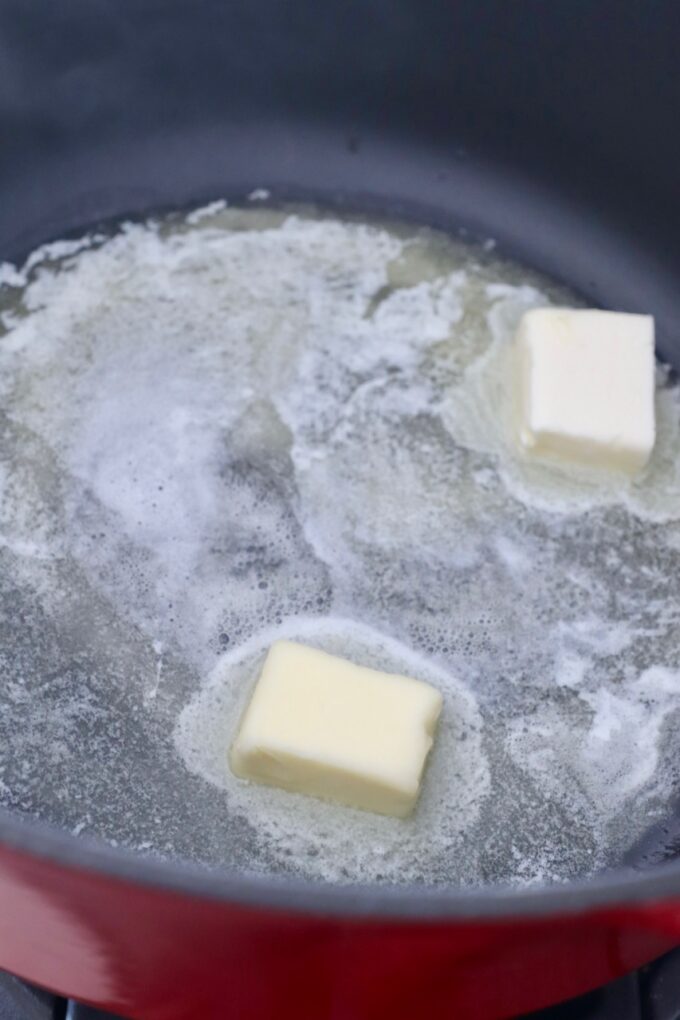
Step 1: Place a heavy skillet on the stove over medium high heat and add butter.
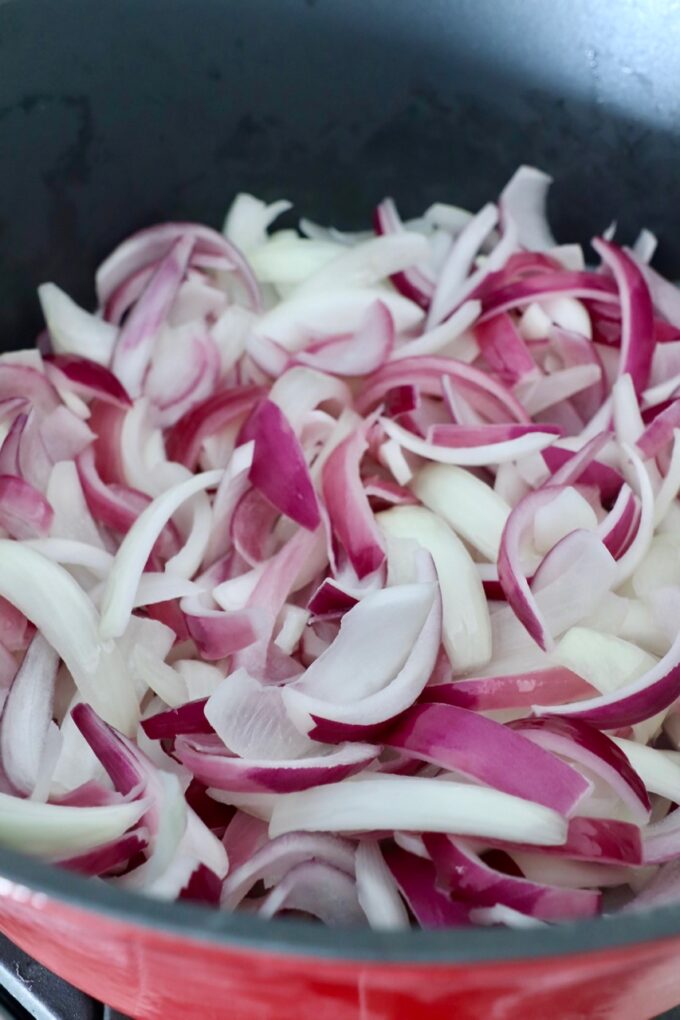
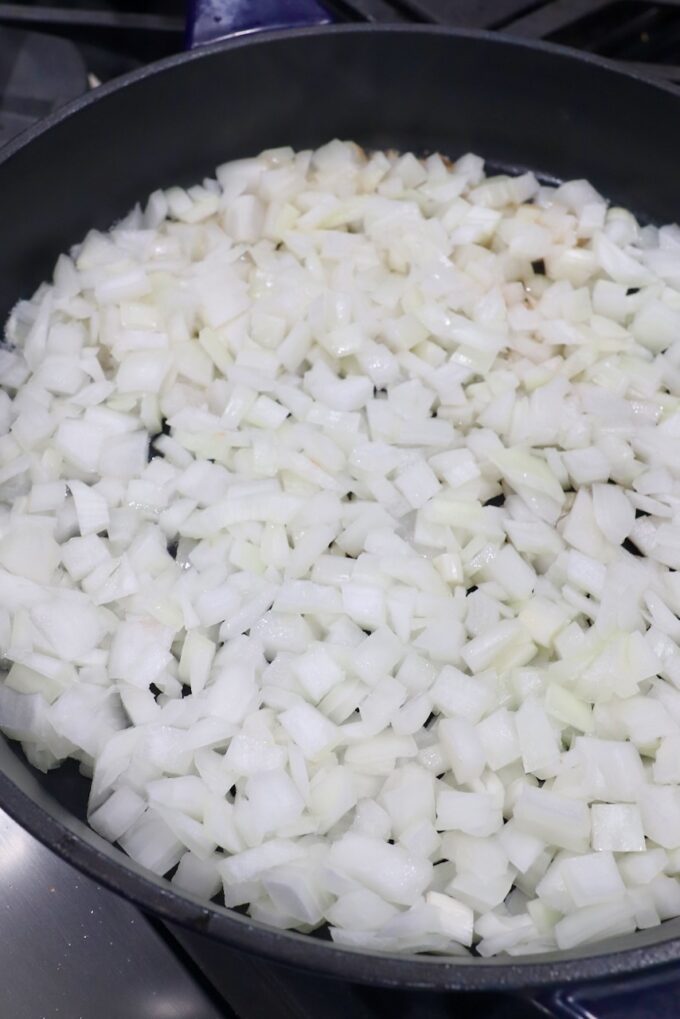
Step 2: Once the butter is melted, add the onion slices to the skillet. Spread the onions out evenly in the skillet.
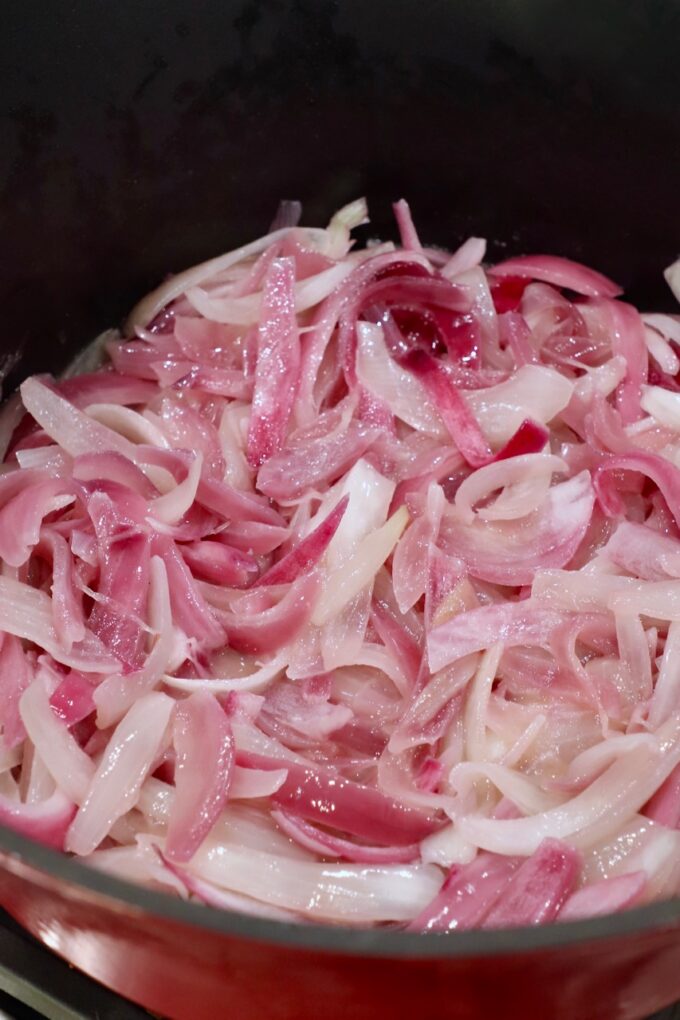
Step 3: Cook for 5 minutes, sprinkle with salt, and reduce the heat down to medium.
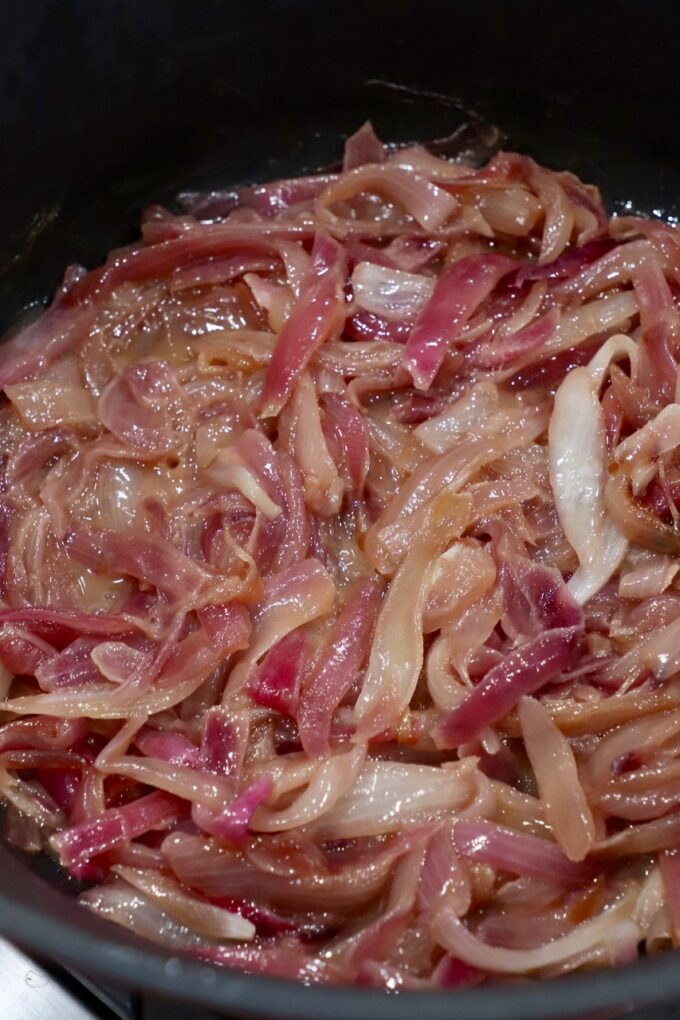
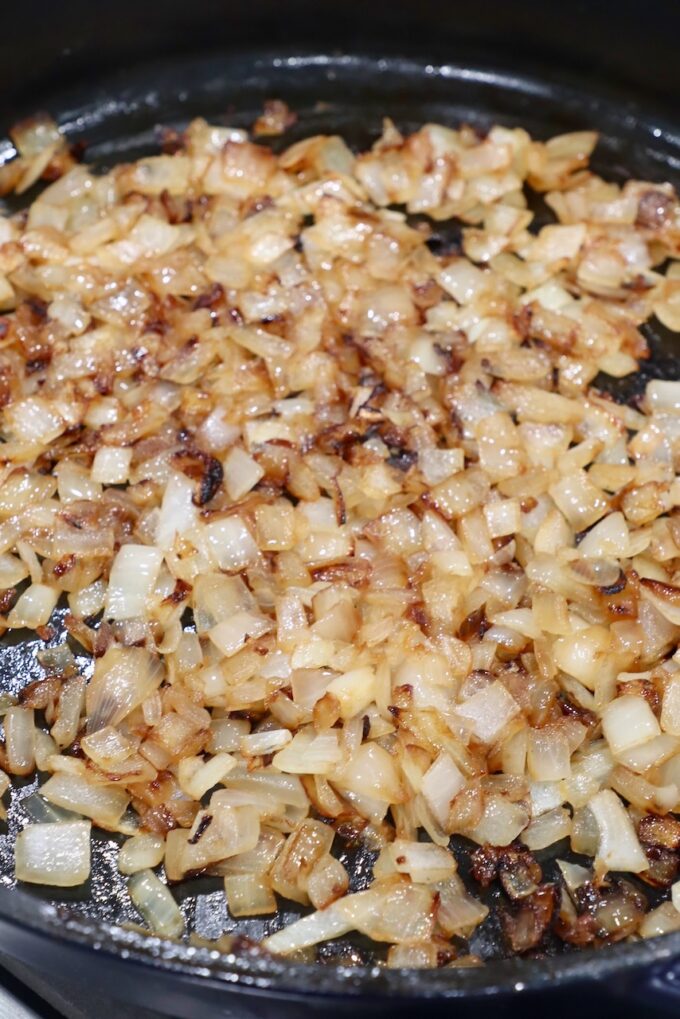
Step 4: Cook for 45 minutes, or until the onions are soft and browned. Only stirring every 10 minutes.
Use the onions immediately, or store in the refrigerator for up to one week.
For 1 pound of caramelized diced onions, follow the steps above, but you’ll only need to cook the onions for 35 minutes to achieve a perfect caramelization.
Frequently asked questions
- Can you use any color of onion to make caramelized onions? Any color of onion will work, and for even more depth of flavor, use a mix of different colors of onions.
- How long does it take to caramelize onions? This will depend on how many onions you’re caramelizing, and how big your pot is. Plan for at least 45 minutes to caramelize more than one pound of sliced onions, and around 35 minutes for one pound or less of diced onions.
- Do you use oil or butter to caramelize onions? You can use either, or both! I like the flavor of onions caramelized in butter, so I use 3 tablespoons butter, when caramelizing 3 pounds of onions. You can also use 1 1/2 tablespoons butter + 1 1/2 tablespoons oil, if you prefer.
- Can you use vegetable oil to caramelize onions? Yes, you can use vegetable oil, canola oil or olive oil to make caramelized onions.
- Do you add salt or sugar to caramelize onions? Salt is always a yes, sugar is a no for me. You need salt to help pull out the water in the onions. Otherwise, the onions will simply steam in the pot instead of caramelize. If you properly caramelize the onions using this recipe, they’re already very sweet, so I don’t feel like added sugar is needed.
- Can you freeze caramelized onions? Yes, I recommend freezing them in an ice cube tray, or small containers, so that you can simply thaw only what you need for one recipe at a time. They will stay good in the freezer for up to 3 months. Thaw in the refrigerator overnight before using them in a recipe.
Tips and tricks
- Always caramelize onions over medium heat, and keep an eye on them. There’s nothing worse than spending all the time to make caramelized onions, and then burning them! It takes a while to caramelize onions, so I know that the temptation is there to turn up the heat, but don’t do it! Just wait it out and keep an eye on them, stirring every 10 minutes during the caramelization process, so that you can make sure they’re never burning. You can also turn the stove down to medium low heat if they are cooking too fast.
- If you ever feel like the onions are starting to burn at the bottom of the pan, turn the heat down slightly and deglaze the pan with 1-2 tablespoons of water. Use a spatula to scrape up any brown bits on the bottom and continue to watch the onions to make sure they don’t burn.
- Always use a cast iron skillet, or dutch oven, when caramelizing onions. A cast iron skillet will get nice and hot, and maintain an even heat during the cooking process. If you don’t have a cast iron skillet, use the heaviest and largest pan you have available.
- Use a pan that’s big enough for the onions to spread out. If the pan is too small and there’s too many onions in the pan, they’ll steam themselves, instead of caramelize and it will take much longer to cook the caramelized onions. For this recipe, which calls for 3 pounds of onions, I recommend at least a 12 inch skillet or dutch oven, or something bigger.
- Only stir the onions every 10 minutes. Stirring them more than this will not allow them to brown and caramelize in the pan.
- Never slice the onions less than 1/4 inch thick. Slicing onions too thinly will mean that they’re more likely to stick to the pan and burn. Using 1/8-1/4 inch thick slices will prevent them from drying out and burning during the caramelization process.
- Every 1 pound of raw onions will equal approximately 1 cup of caramelized onions. If you only need 1 cup of caramelized onions, you only need to cook 1 pound of sliced, raw onions with 1 tablespoon butter, or olive oil.
How to serve them
There’s really not a wrong way to eat caramelized onions. They’re fantastic as a garnish or mixed in to so many recipes! Use these ideas to get you started.
- Use on burgers – they add the perfect touch to any burger, like Animal Style Burgers, Cheeseburger Sliders, even Sweet Potato Black Bean Veggie Burgers.
- With fries – these Animal Style Fries would not be complete without these delicious onions!
- On steaks – top a Sous Vide Steak or Grilled Steak with caramelized onions for a decadent finish.
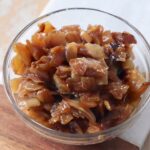
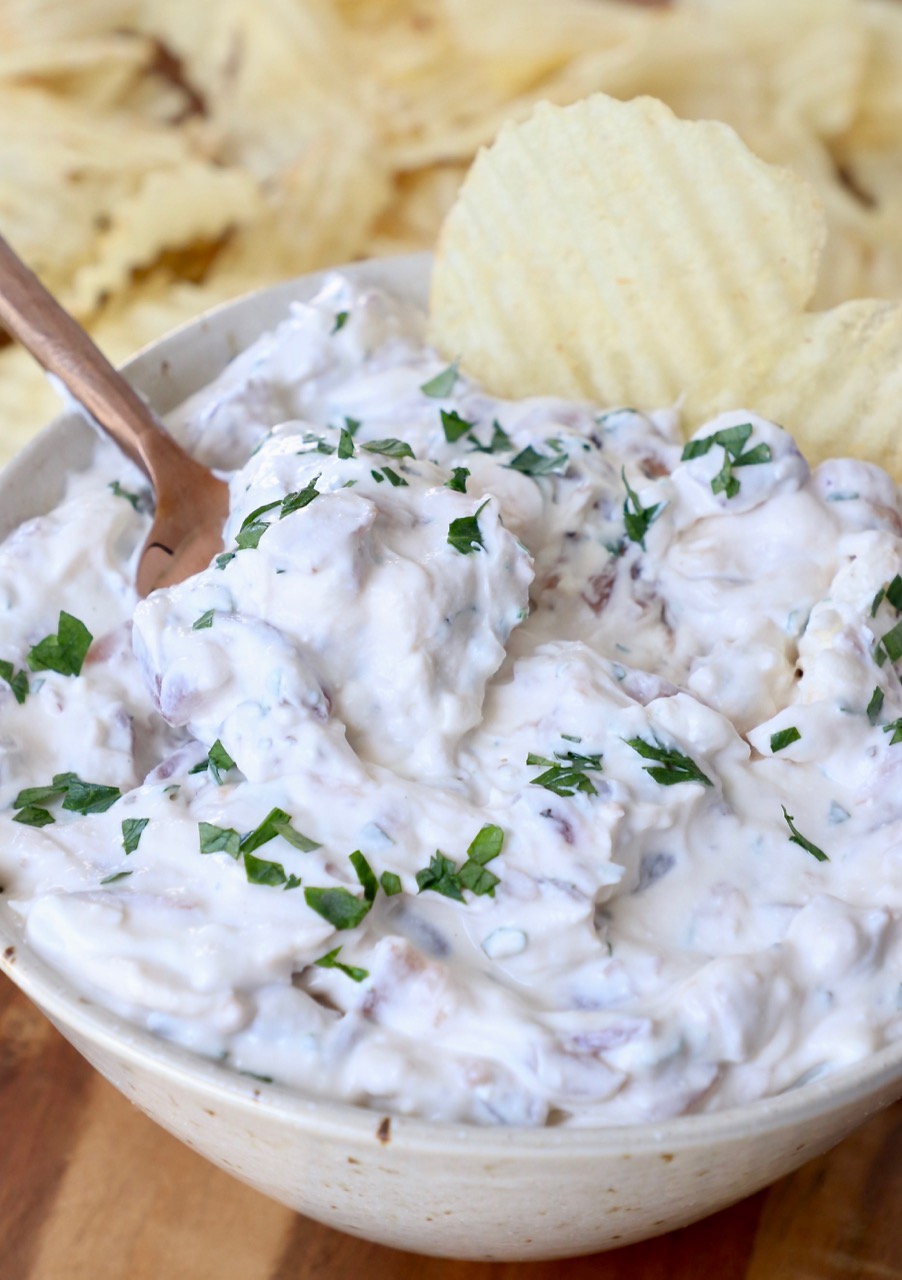
- In a dip – stir the onions into your favorite dip. They’re especially great in this French Onion Dip recipe! (Pictured above.)
- For French Onion Soup – either mix them in as you are cooking, or use them as a topping. You can make your own classic soup with this French Onion Dip Mix, or try something new like this Slow Cooker French Onion Meatball Soup!
- In hot sandwiches – these onions taste great in cheesesteaks and French Dip Sandwiches, and so tasty in this Coffee Rubbed BBQ Steak Sandwich.
- On top of pizza – make your own pizza at home with this recipe for Pan Pizza.
- In a grilled cheese sandwich – load them into a classic grilled cheese, or really up the flavor in this Sriracha Candied Bacon Grilled Cheese or Bacon Tomato Avocado Grilled Cheese.
- Top brats or hot dogs – include these onions along with your other condiment offerings.
- With mac n cheese – include the onions in your topping, or mixed in with the noodles and cheese. Try them in this Smoked Mac and Cheese or BBQ Chicken Mac and Cheese.
- Stirred into sauces – all of your favorite pasta sauces can benefit from the addition of caramelized onions.
- With pierogis – you can dress up frozen ones, or make your own homemade Sweet Potato Pierogis.
- For salad – use as a topping with your favorite green salad, potato salad, vegetable salad or pasta salad. Try them in this Red White and Blue Cheese Potato Salad, 10 Minute Broccoli Salad or as a topping on this Steak Salad.
- Spread on bread – much like roasted garlic, these caramelized onions are excellent on top of toast or crostinis for an appetizer or snack.
- With breakfast – make the best scrambled eggs ever by adding in these onions. Include them in omelettes, top biscuits and gravy, or mix them into Egg Muffins, Breakfast Burritos or this Easy Keto Spinach Frittata with Bacon.
More kitchen tutorials
Don’t miss these other quick and easy kitchen how-to guides!
- How To Hard Boil Eggs
- 3 Ways – How To Cook Sweet Potatoes
- How to Cook Spaghetti Squash
- Air Fryer Baked Potato
- How To Make Roasted Garlic
- How to Make Sauteed Mushrooms
How To Caramelize Onions
Ingredients
- 3 tablespoons butter, or olive oil
- 3 pounds onions, cut into ¼ inch slices, or diced into ¼ inch squares
- ½ teaspoon sea salt
Instructions
- Add the butter (or olive oil) to a 12 inch (or larger) cast iron skillet on the stove over medium high heat.
- Once the butter is melted, add the onions and spread them out evenly in the skillet.
- Cook for 5 minutes, sprinkle the salt over the onions, then reduce the heat to medium.
- Cook for 45-60 minutes, stirring every 10 minutes.
- If the onions start to stick to the bottom of the pan, lower the heat to medium-low.
- Use the onions immediately, or store in the refrigerator for up to one week.
Notes
- Every 1 pound of raw onions will equal approximately 1 cup of caramelized onions.
- Any color of onion will work for making caramelized onions. For even more depth of flavor, use a mix of different colors of onions.
- Caramelized onions can be frozen for up to 3 months. I recommend freezing them in an ice cube tray, or small containers, so that you can simply thaw only what you need for one recipe at a time. Thaw in the refrigerator overnight before using them in a recipe.
- Always caramelize onions over medium heat, and keep an eye on them. There’s nothing worse than spending all the time to make caramelized onions, and then burning them! It takes a while to caramelize onions, so I know that the temptation is there to turn up the heat, but don’t do it! Just wait it out and keep an eye on them, stirring every 10 minutes during the caramelization process, so that you can make sure they’re never burning. You can also turn the stove down to medium low heat if they are cooking too fast.
- If you ever feel like the onions are starting to burn at the bottom of the pan, turn the heat down slightly and deglaze the pan with 1-2 tablespoons of water. Use a spatula to scrape up any brown bits on the bottom and continue to watch the onions to make sure they don’t burn.
- Always use a cast iron skillet, or dutch oven, when caramelizing onions. A cast iron skillet will get nice and hot, and maintain an even heat during the cooking process. If you don’t have a cast iron skillet, use the heaviest and largest pan you have available.
- Use a pan that’s big enough for the onions to spread out. If the pan is too small and there’s too many onions in the pan, they’ll steam themselves, instead of caramelize and it will take much longer to cook the caramelized onions. For this recipe, which calls for 3 pounds of onions, I recommend at least a 12 inch skillet or dutch oven, or something bigger.
- Only stir the onions every 10 minutes. Stirring them more than this will not allow them to brown and caramelize in the pan.
- Never slice the onions less than 1/4 inch thick. Slicing onions too thinly will mean that they’re more likely to stick to the pan and burn. Using 1/8-1/4 inch thick slices will prevent them from drying out and burning during the caramelization process.
Nutrition Facts
We are a participant in the Amazon Services LLC Associates Program, an affiliate advertising program designed to provide a means for sites to earn advertising fees by advertising and linking to amazon.com.


